
I went off the deep end about a year ago after I accidentally came across instructions for Paula Nadelstern’s Opulent Ornaments and decided I needed to make one. Or a dozen. Get her directions here. (Embrace the bling; resistance is futile.)
I spent a long time collecting sequins, pins, beads, and other shiny objects and finally found courage to give it a try back in July when I was supposed to be catching up on crib quilts for new additions to the Simms extended family. (Knowing I should have been doing something else with a higher priority made this particular rabbit hole even more delicious.)
As you can see in the picture above, I’ve exceeded my quota, and that doesn’t count the two I have been working on. I don’t want to stop. I can’t stop. I have collected many pounds of bling and all sorts of wonderful containers to store it in. Did I mention these make wonderful holiday gifts?
Each Styrofoam ball is a new canvas and I can’t wait to “skin it” (cover it with Paula’s phenomenal fabric so that there are no pleats or wrinkles) and stick stuff all over it (self-explanatory). I mostly work on the balls in the evening. I can actually carry on a conversation as I poke pins, so technically it’s “together time” with Steve. I actually volunteered to take a bump on a recent trip back from Florida so I could “ball” in the airport. (OK, so I got a hefty voucher too, but those extra 6 hours went by SO fast!) I even embellished on the plane. Apparently when you’re waiving pins around and spraying sequins in all directions the people on either side of you are willing to relinquish the armrests. It’s all good.
Here’s what you need to get started.
You can find most of these supplies and tools on my Amazon Storefront,
Just click HERE. Look for “Make Opulent Ornaments” on the top of the page.
As an Amazon Associate I earn a commission from your qualifying purchases.
There is no additional charge to you and I can’t see what you buy.
Fabric
You will need Paula Nadelstern’s fabric panels like the ones on page 4 of her instructions.
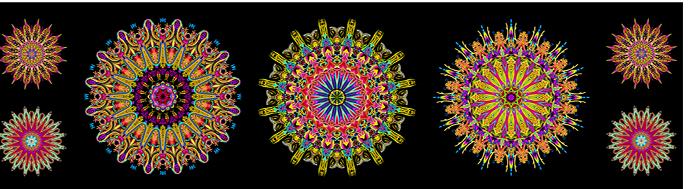 Benartex “Where in the World” panel Pink/Multi 2529-22 by Paula Nadelstern
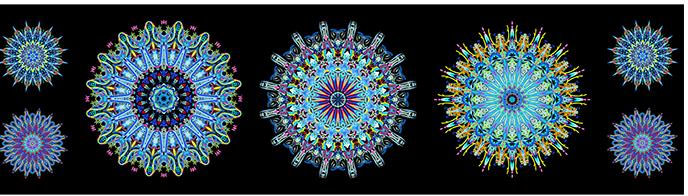
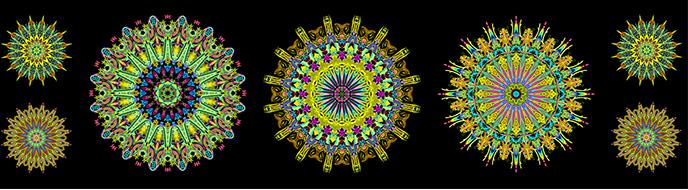 Benartex “Where In the World” panel Green/Multi 2529-44
Look for Paula’s newest fabric lines on equilter. Paula’s older Benartex fabric lines for making Opulent Ornaments (Kismet, Chromazone, Super Kaleiders, and Artful Snowflake Ice Crystal) can be found on websites like eBay and Etsy. Search for “Paula Nadelstern Benartex mandala.”
Styrofoam Balls
Paula’s instructions call for 6″ styrofoam balls. You can find them at JoAnn.com, Michaels.com, and Wal-Mart.com. Dollar stores have them too, and you’ll hit the mother load in Canada if you live near a Dollarama. They’re all $1.50. Selection isn’t always consistent, but they have pretty colored cup-shaped sequins too. I hesitate to tell you how many times we have driven 90 miles to the Dollarama for balls. OK, there is great Italian food nearby, so it’s not just for Styrofoam.
Note that Paula also encourages you to try other sizes. I find that smaller ones (4″ diameter) are a little more difficult to skin, but they go fast. The 5″ diameter balls look most opulent if you’re using them as Christmas tree ornaments plus they won’t bring down your Douglas Fir. (These ornaments can get heavy!) I’ve never tried any of the green florist Styrofoam balls, mostly out of fear. Anybody used them successfully? I tend to prefer the smooth skinned balls. Much harder to push a pin in, but you get a nice squeaky sound and it feels like the pins will stay put. The rough-skinned balls shed a little, but pins go in easy. Larger balls usually have a rough texture. I’ve made an 8″ and recently started a 10″ ball. Use a thimble to save your fingers.

Smaller balls can be hung on a Christmas tree. Balance the larger ones on an egg cup or small bowl so they don’t roll away.
Sequins
 You ca
 n find sequins just about anywhere, but if you want to go overboard, visit CCarwright.com. Their website is easy to navigate and the eye candy is magnificent. Prices are very reasonable, especially if you look for closeouts.
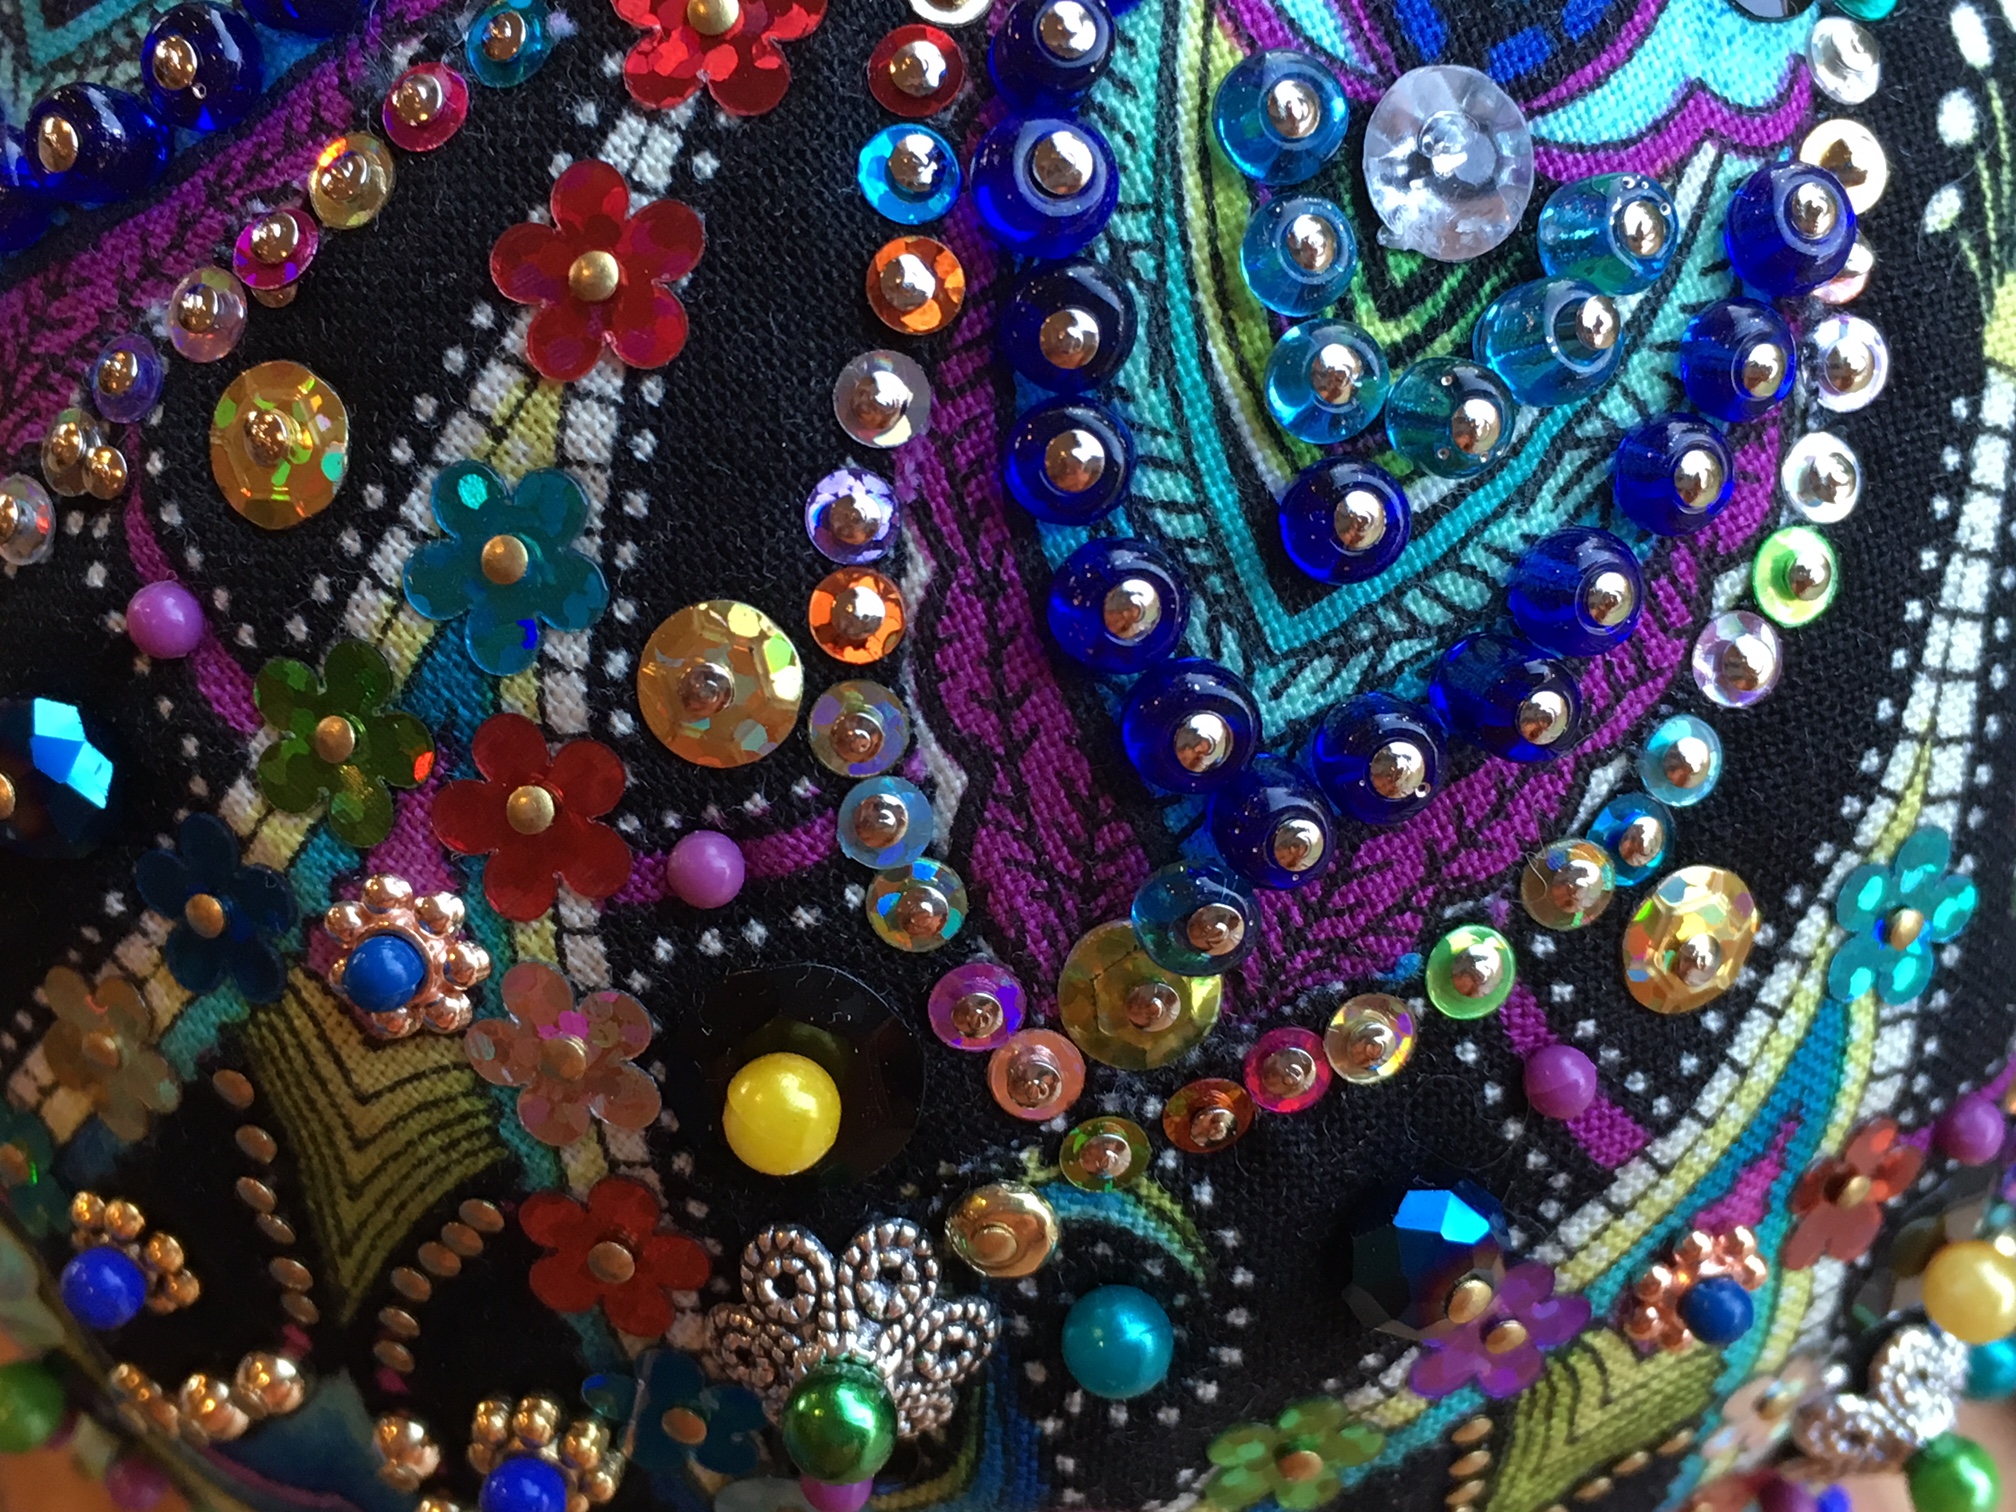
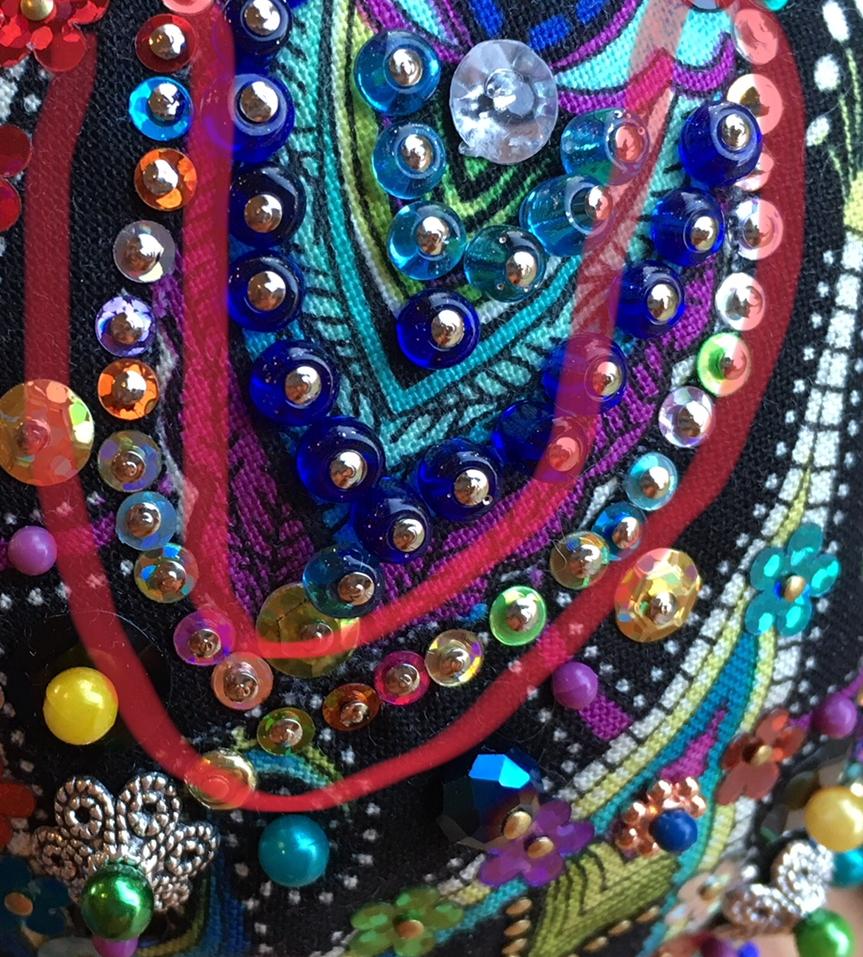
My favorites are the hologram sequins and my absolute favorites are the 3mm Flat Hologram Mixed Colors. I use these to cover the raw edges of the fabric. (I tried to outline them in red in the picture to the left.)
Beads & Findings
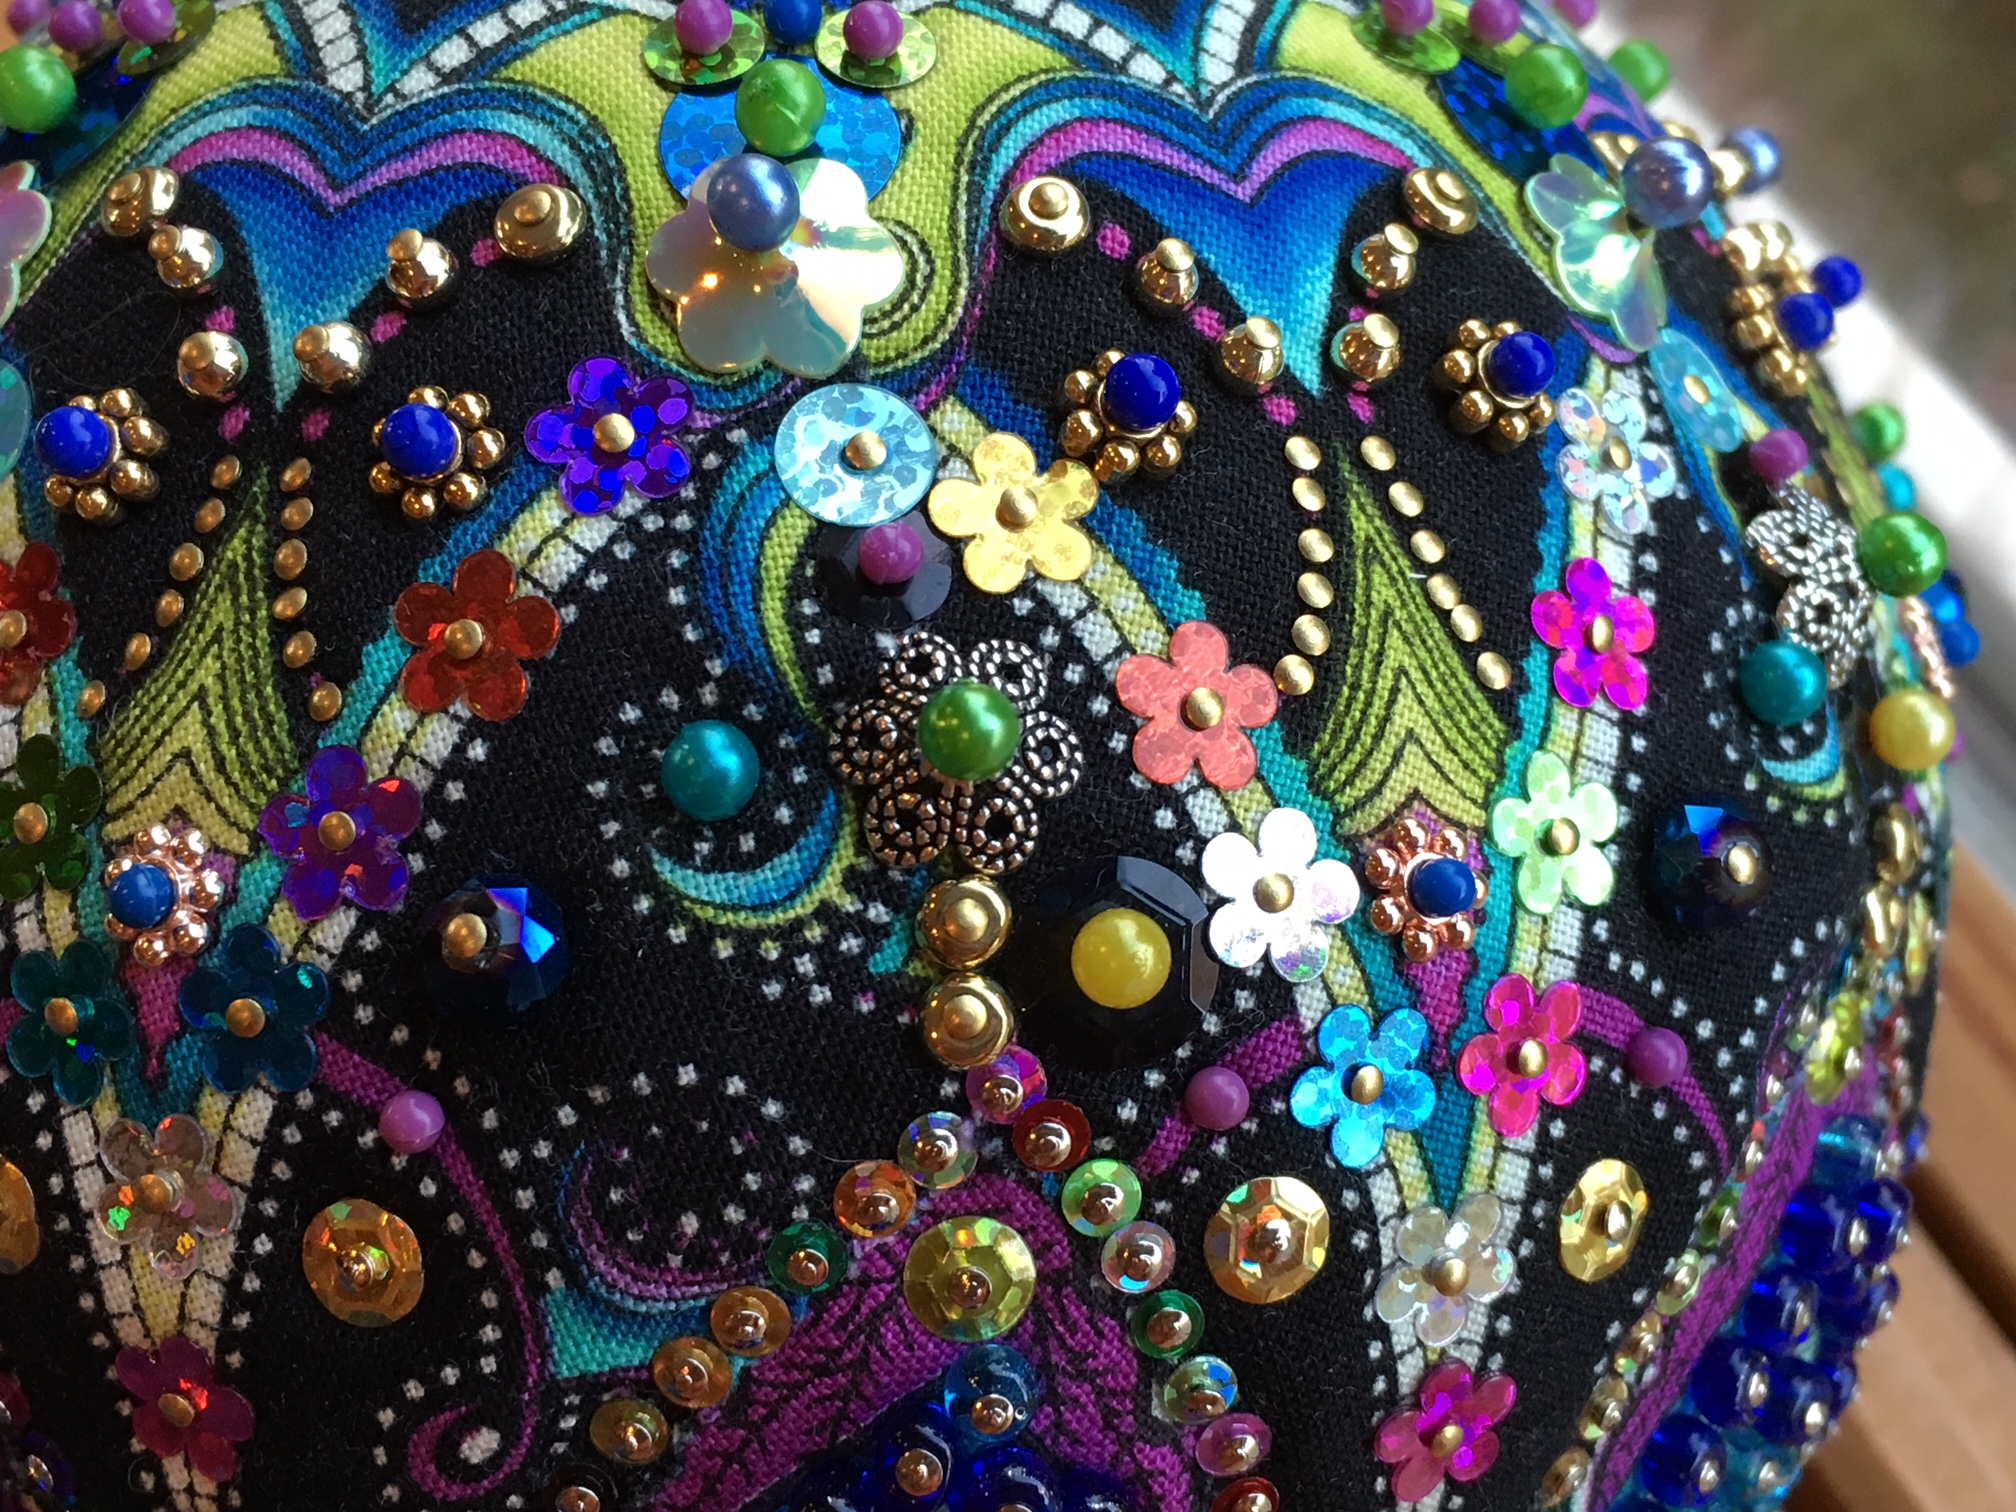
Check out the beads and bracelets and other jewelry stuff at Michael’s. You can see a silver colored do-dad with a green pin in the center in the picture above (lower left). If you can string it for jewelry, you can stick a pin through it and poke it into a ball. If the hole is too big, put a sequin over it. Watch for the 50% and 70% off sales on the green label “gold” and “silver” beads. (Flat bottomed findings are better; they won’t rock with handling which might loosen the pin.)
Look for glass beads, size 6/0. The hole is large enough for the shaft of the pin to go through, but not the head.
Pins
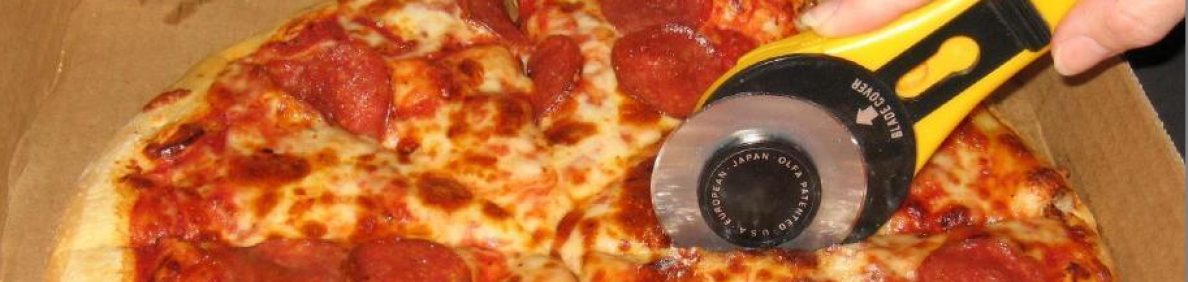
Precision Point Pins (see picture below, silver box) are my go-to pins. They are excellent for beads and sequins. If I’m splurging, the Bohn “gold” pins (same picture, small white box with red band) are wonderful. They are made of brass. I’ve tried cheaper brass pins, but they bend too much and won’t go into the Styrofoam ball! Stick with Bohn.
For decorative pins, the more the merrier. I like glass or plastic head pins, short pins, long pins, corsage pins…you see where this is going, right? I’ve turned into a pinhead. The more variety in color, style, and most importantly, size, the better. As Paula says, “more is more.” (Pick them up with plastic tweezers and poke them in with a thimble.)
Pins on my list below, other than the Precision Point Pins and the Bohn brass pins, probably aren’t suitable for sewing. Most have the plastic color extending down the shaft of the pin, and all of them look like they have rolled around on the floor at some point during production, BUT they work GREAT in the balls. Don’t put them in your mouth.
You can find most of these supplies and tools on my Amazon Storefront,
Just click HERE. Look for “Make Opulent Ornaments” on the top of the page.
As an Amazon Associate I earn a commission from your qualifying purchases.
Containers
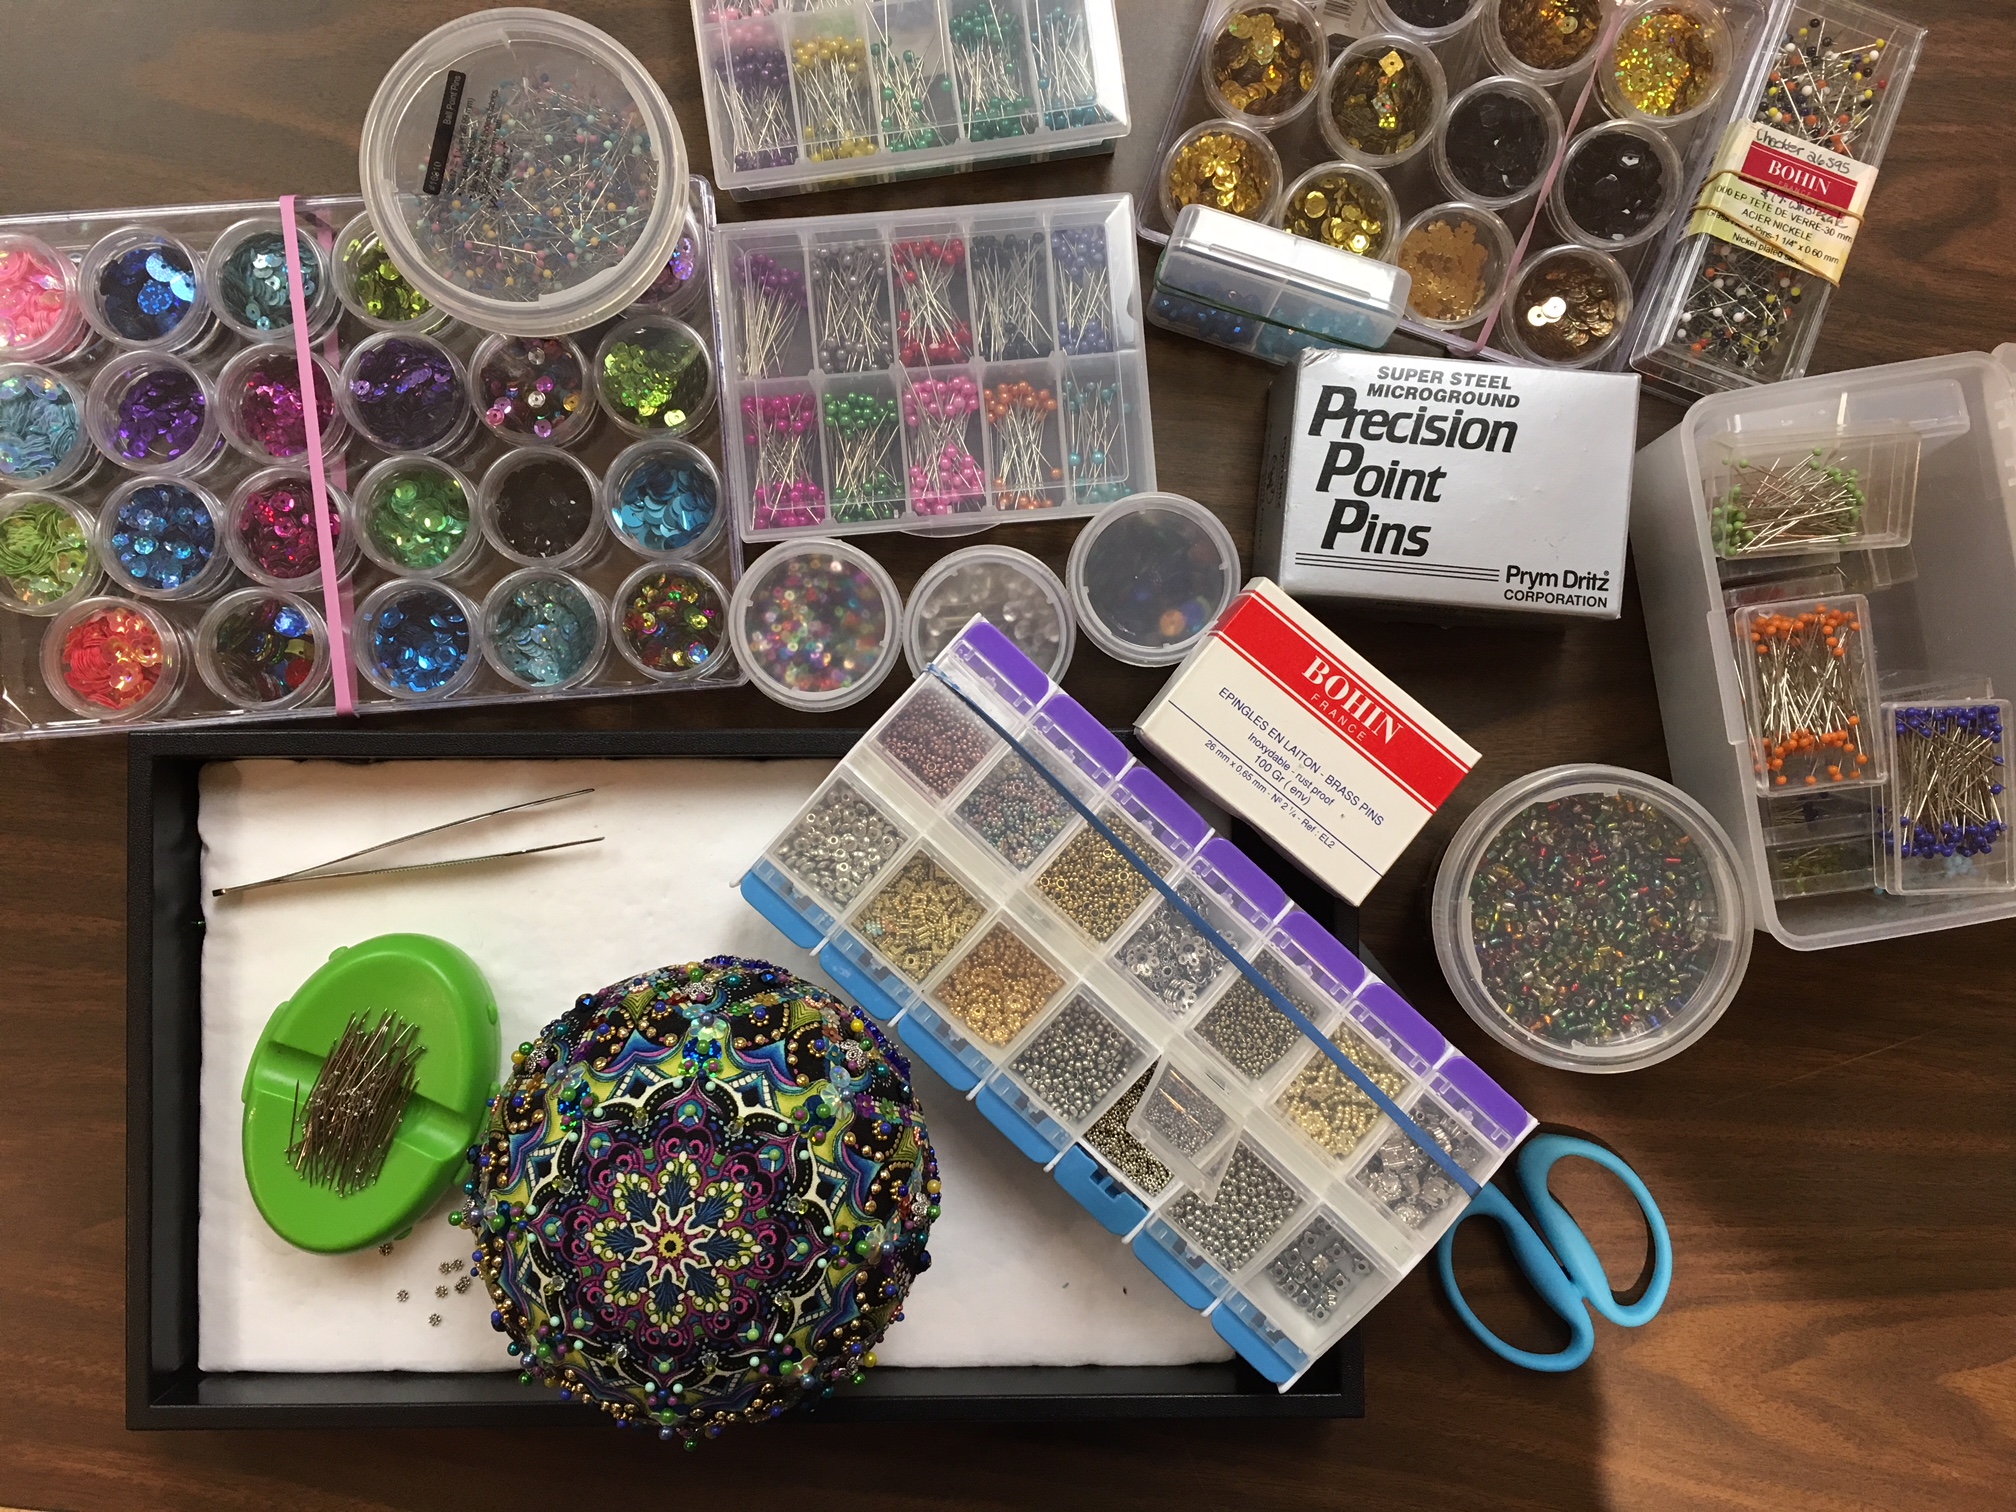 I love plastic storage boxes. Just looking at my stash of bling makes me happy. The black tray in the foreground is a jewelry tray (Michael’s). I ripped out the black ring holder thing and covered a piece of Styrofoam packing material with muslin. Makes a nice flat pincushion. The rigid tray goes on my lap and keeps my balls from rolling away. A magnetic pin caddy holds steel pins. (The brass ones fall off, duh!) I use tweezers for grabbing pins out of containers. I’m switching to plastic tweezers; see the list above.
Darice makes the round little screw-top containers in a short and tall version. (Do NOT just use one container with a lot of little compartments. One hiccup and they change compartments.) I use the screw-top containers for sequins. The purple and blue tabbed plastic container is for vitamins. Use nail polish remover or the solvent Steve has in the garage (?!) to get rid of the days of the week, AM, and PM labels. (Also nice for earrings.)
Light
Good light is a must. Try a small task light. Here I’m using a ViviLux rechargeable cordless LED light. Run it on the rechargeable battery (never needs new batteries) or from the USB cord and a cube plugged into an outlet. Choose from three light settings: bright white, warm, or natural daylight. You can even wirelessly charge your phone as you work! Use my Amazon link below to find it.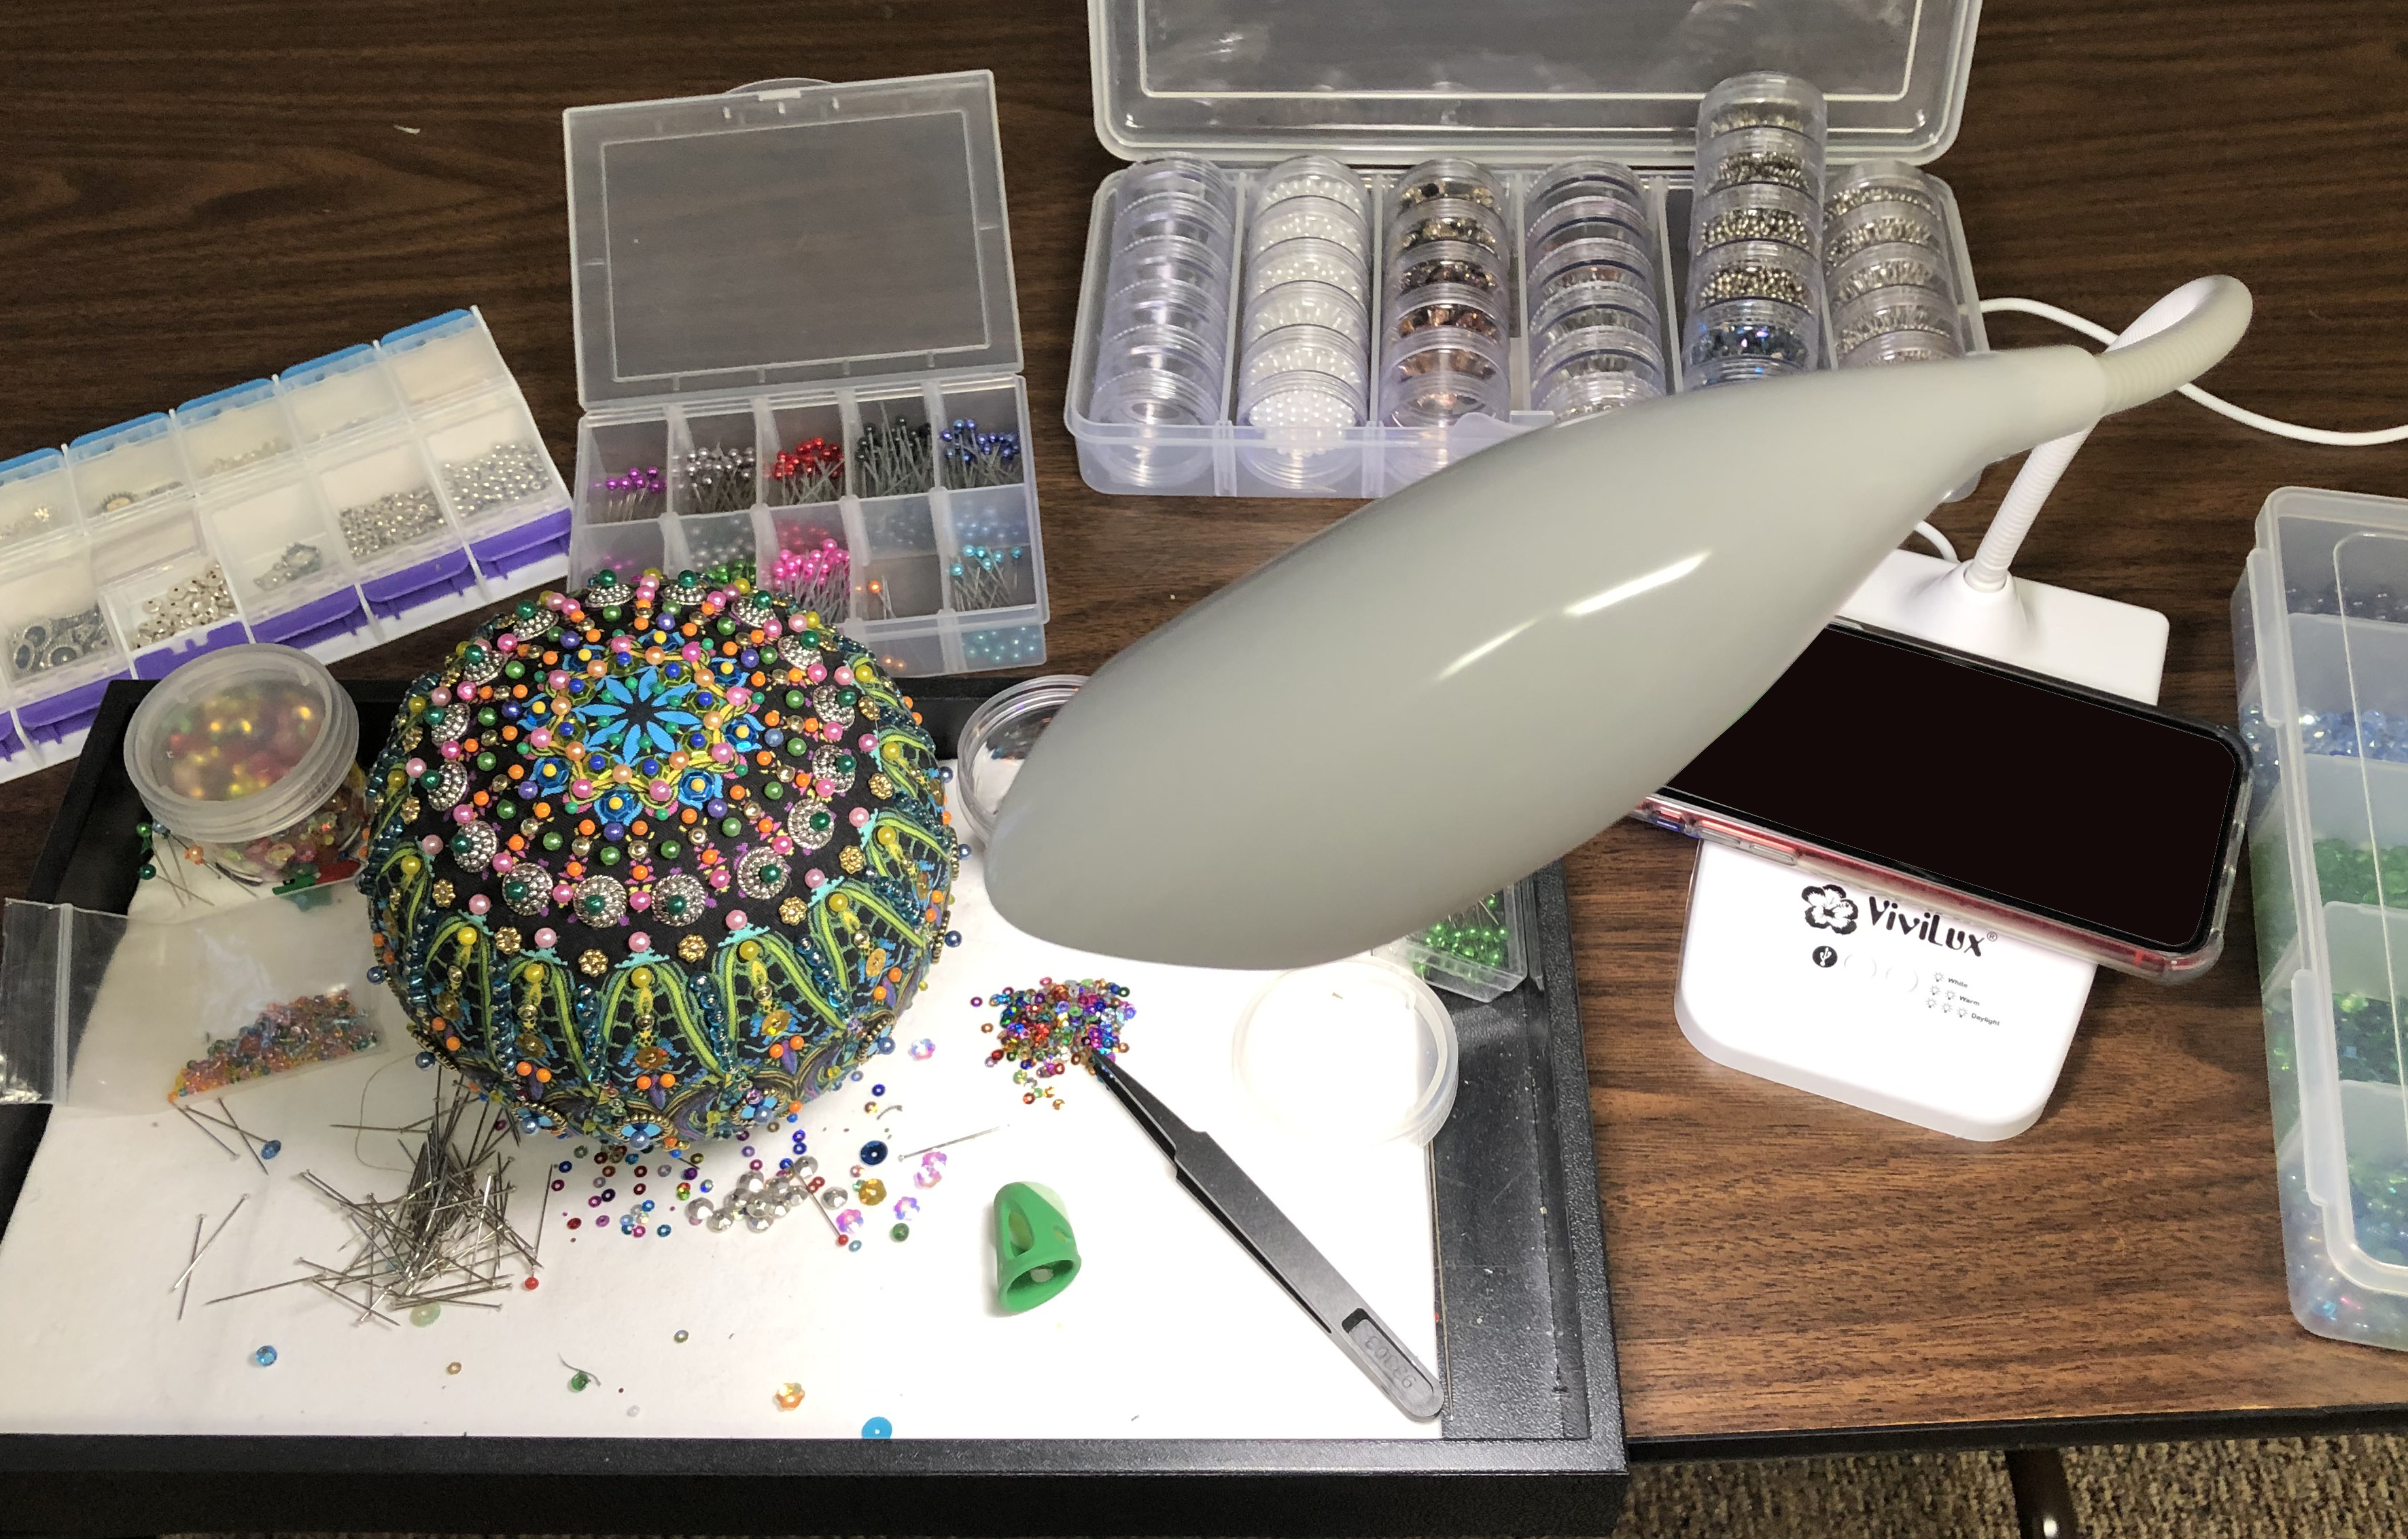
So…
Now is the perfect time to jump down the rabbit hole with me. Just dive in. It’s so much fun!
Thanks, Paula, for this amazingly fun project and your wonderful fabric!
You can find most of these supplies and tools on my Amazon Storefront,
Just click HERE. Look for “Make Opulent Ornaments” on the top of the page.
As an Amazon Associate I earn a commission from your qualifying purchases.
Originally published 11-14-2017
Updated 1-26-2021, 3-28-2024
Visit me on my Etsy store: AmiSimmsQuiltStudio


Wow! These are fantastic. Thanks for the inspiration.
LikeLike
Thanks, Cindy! They are so much fun to make.
LikeLike
I just can’t find these fabrics any place! Help
LikeLike
I just updated the blog with Paula’s new fabrics. You might have better luck with these.
LikeLike
Oh.My.Goodness! I need to try this! I’m suggesting this as a Friendsgiving day craftivity.
LikeLike
Sounds like a great idea!
LikeLike
Ami, you are a wicked,wicked woman. Going to explore to see which supplies I already have…..
LikeLike
Thank you! Have fun!
LikeLike
Oh, No.! I need another shelf to hold all of these containers?
LikeLike
If you find a nice one, let me know.
LikeLike
these are beautiful
LikeLike
Thank you! They’re so much fun, and Paula’s fabric is incredible.
LikeLike
Can we have you arrested by the quilt police for contributing to the delinquency of a quilter? 😎
LikeLiked by 1 person
Ha ha! Sure!
LikeLike
I’ve made something like 27 of these- after taking a class with Paula a while back. I didn’t use many ball head pins, so mine all have a sort of silver sheen from the pins. I love how hefty the balls get as more and more pins are added. (I think my record is a box and a half- 750 per box!)
LikeLike
Lucky you!
LikeLike
I did a similar craft some years ago, with preteens. We were making a plague of locusts, using styrofoam balls. If you did the pin in some white glue, before you put it into the ball, the pin will stay in, a good idea with kids or pets.
LikeLike
Sounds like fun!
LikeLike
Those are lovely. My mother made decorated balls, back in the early 1970’s, and I still have one. They used plastic push pins for the sequins. They came in kits.
LikeLike
Argh! How I wish I hadn’t read this post!😂😘
LikeLike
Always happy to help! 😃
LikeLike
Oh, I am smitten! But am going to try and have the restraint to wait until after Christmas to dive into this or my Christmas quilting will never get done! thanks for sharing, I had never seen these lovelies before.
LikeLike
Good luck!
LikeLike
Wow! Those are very cool. I remember making ornaments from the Lee Wards store with my mom in the late 60’s and 70’s.
LikeLike
It’s a whole new world now. Now we’ve got Paula’s fantastic fabric.
LikeLike
I’ve made a few beaded ornaments in the past. A bit of glue on the top of the pin helps keep them in place.
LikeLike
No glue needed on these.
LikeLike
I got hooked on making them back in July. It’s a ton of fun. Thanks for sharing this craft and Paula’s new fabric.
LikeLike
You are a master!
LikeLike
Ami! You’re killing me!!!! Like where am I going to find a place for yet another cool art project huh! I already have every crook and cranny in my home filled with projects: couture sewing, quilting, millinery, bird carving, Ukrainian egg dyeing… now you show me this??? I might have a heart attack of the sheer art type! Pant, pant, pant.
Ok I’m in.
Thanks I think 😉
LikeLike
Yay! Another convert!
LikeLike
Haven’t gotten to Paula’s instructions yet, but if you aren’t using a nail set for the pins with regular heads for the sequins, quick, go raid your husband’s toolbox! Your fingers will thank me right away
LikeLike
I just use a thimble. That works pretty well.
LikeLike
Please, what is a nail set? I’m an Aussie.
LikeLike
It’s a hardware tool to hammer nails into wood when the head needs to be recessed. Or, I guess when you don’t want the impression of the hammer all over the wood if you have bad aim like I do. Google “”nail setter” or “nail set tool.”
LikeLike
This is so funny! I already have ALL of those things for Crazy Quilting, except the balls. I used to buy kits that were just the balls and pins and beads and make ornaments, about …47 years ago? Everything comes around again if you live long enough. =) Happy retirement, by the way!
LikeLike
I got started and cant stop either. I am on my tenth one. I buy any fabric with circular patterns on it that are pretty. I find fabric at Hobby Lobby, Joanns, Wal-Mart, and other fabric stores.
LikeLike
Hello,
I’m looking for artists, trained or untrained, who use art as a way of coping with illness or suffering, including depression, sadness, grief, PTSD, schizophrenia, Bipolar Disorder, diabetes, addiction, abuse, discrimination, cancer, etc. for a book, Art as Medicine.
The artwork must be an expression of the artist’s reaction to his/her situation. The images don’t have to be a literal depiction (although they could be); I’m interested to see imagery that reflects the artist’s feelings and ideas. Importantly, the artist may remain anonymous in the book though I will need a brief life history, personal statement, and discussion of the artwork. Most visual modalities will be considered including painting, sculpture, and textile/fiber art.
If you’re interested in submitting your work for evaluation, or know someone who might be, please send photos in the body of an email as well as a brief statement about what the work is about. Later, I will send a questionnaire for more information about you.
I was a psychotherapist for 25 years before turning to art and writing ten years ago. I worked primarily at the University of Massachusetts Memorial Hospital psychiatric outpatient service as well as in my own private practice. I specialized in individual psychodynamic therapy and couple’s therapy. Currently I am a fiber artist focusing on 3D fabric sculpture and will soon be profiled in Fiber Art Now Magazine. My new book, Dimensional Cloth: Sculpture by Contemporary Textile Artists (Schiffer) will be released in June 2018.
If you would like additional information about me or my book project, please let me know.
I look forward to hearing from you!
Thank you very much.
Andra Stanton MSW
andystanton@comcast.net
http://www.andrastanton.com
LikeLike
I want you to know you’ve created a monster! Ive made 18 6- inch balls and 18 4 inch balls for Christmas gifts this year. They were all big hits! Now I’m going to try Easter eggs! These are a blast and I’m so happy you shared your discovery with us!
LikeLike
Holy Moly! That’s GREAT! Good for you!
LikeLike
Much appreciate the sharing. Paula’ work is magic, and now l can make some too. Shirley
LikeLike
Yay!
LikeLike
Thanks for elaborating on pins and beads and your tips for storage. Love your idea about the laptop tray.
I’m having trouble with the original instructions. They don’t say which size mandalas to cut out for a 6” ball and I don’t understand about covering the seam at the “equator”. I assume the fabric overlays the ball at east and west sides? It seems like I’ll be covering a lot of the north and south fabric. Just confused.
LikeLike
Click on the link to Paula’s instructions and you’ll see how to put the fabric on the balls. 😀
LikeLike
Click on the link to Paula‘s Blog for instructions on how to put the fabric on the balls. You’ll see that she covers the top and bottom (north and south poles) and then covers where they meet around the middle (equator) with sequins and pins.
LikeLike
Thank you for this. From her instructions, it sounds as though it is best to use her fabrics, at least as I look at the orientation of the fabric placement. Is that accurate? If one uses a different fabric, I am assuming they might not get a result as symmetrical. Yes, No? Thank you for answering.
LikeLike
Use Paula’s fabric. Symmetry isn’t the reason. Her fabric has way more detail (places to shove pins and sequins) than any other fabric I’ve seen.have fun!
LikeLike
I love these balls but wish there were more instructions about what beads and sequins. I thought that they needed to color-coordinated with the fabric, but looking more closely at the ball shown here, it does not seem so. Should all my seed beads be 6.0 and all sequins 3mm? I would love any input you might be able to offer.
Thank you!
Gail
LikeLike
Oh, Ami, I love you so much! SO much energy! This is truly a rabbit hole, people, BEWARE! I made one and quit because I was so afraid I wouldn’t stop! And because I didn’t have a thimble with me and my fingers were sore.
Diane
LikeLike
Imagine if you had had a thimble what a hole you’d be in! 😜
LikeLike
Well, there was also the question of how to get one or more in my suitcase to get it home . . .
LikeLike
Well, there is that.
LikeLike
I just came across this page. These are beautiful! Can you explain more about how to hide the raw edges? Do you just put pins around all the edges? Thanks
LikeLike
Cover raw edges and pleats with sequins and pins. And beads and pins.
LikeLike